Create Survey
To begin, you will need to create a new survey.
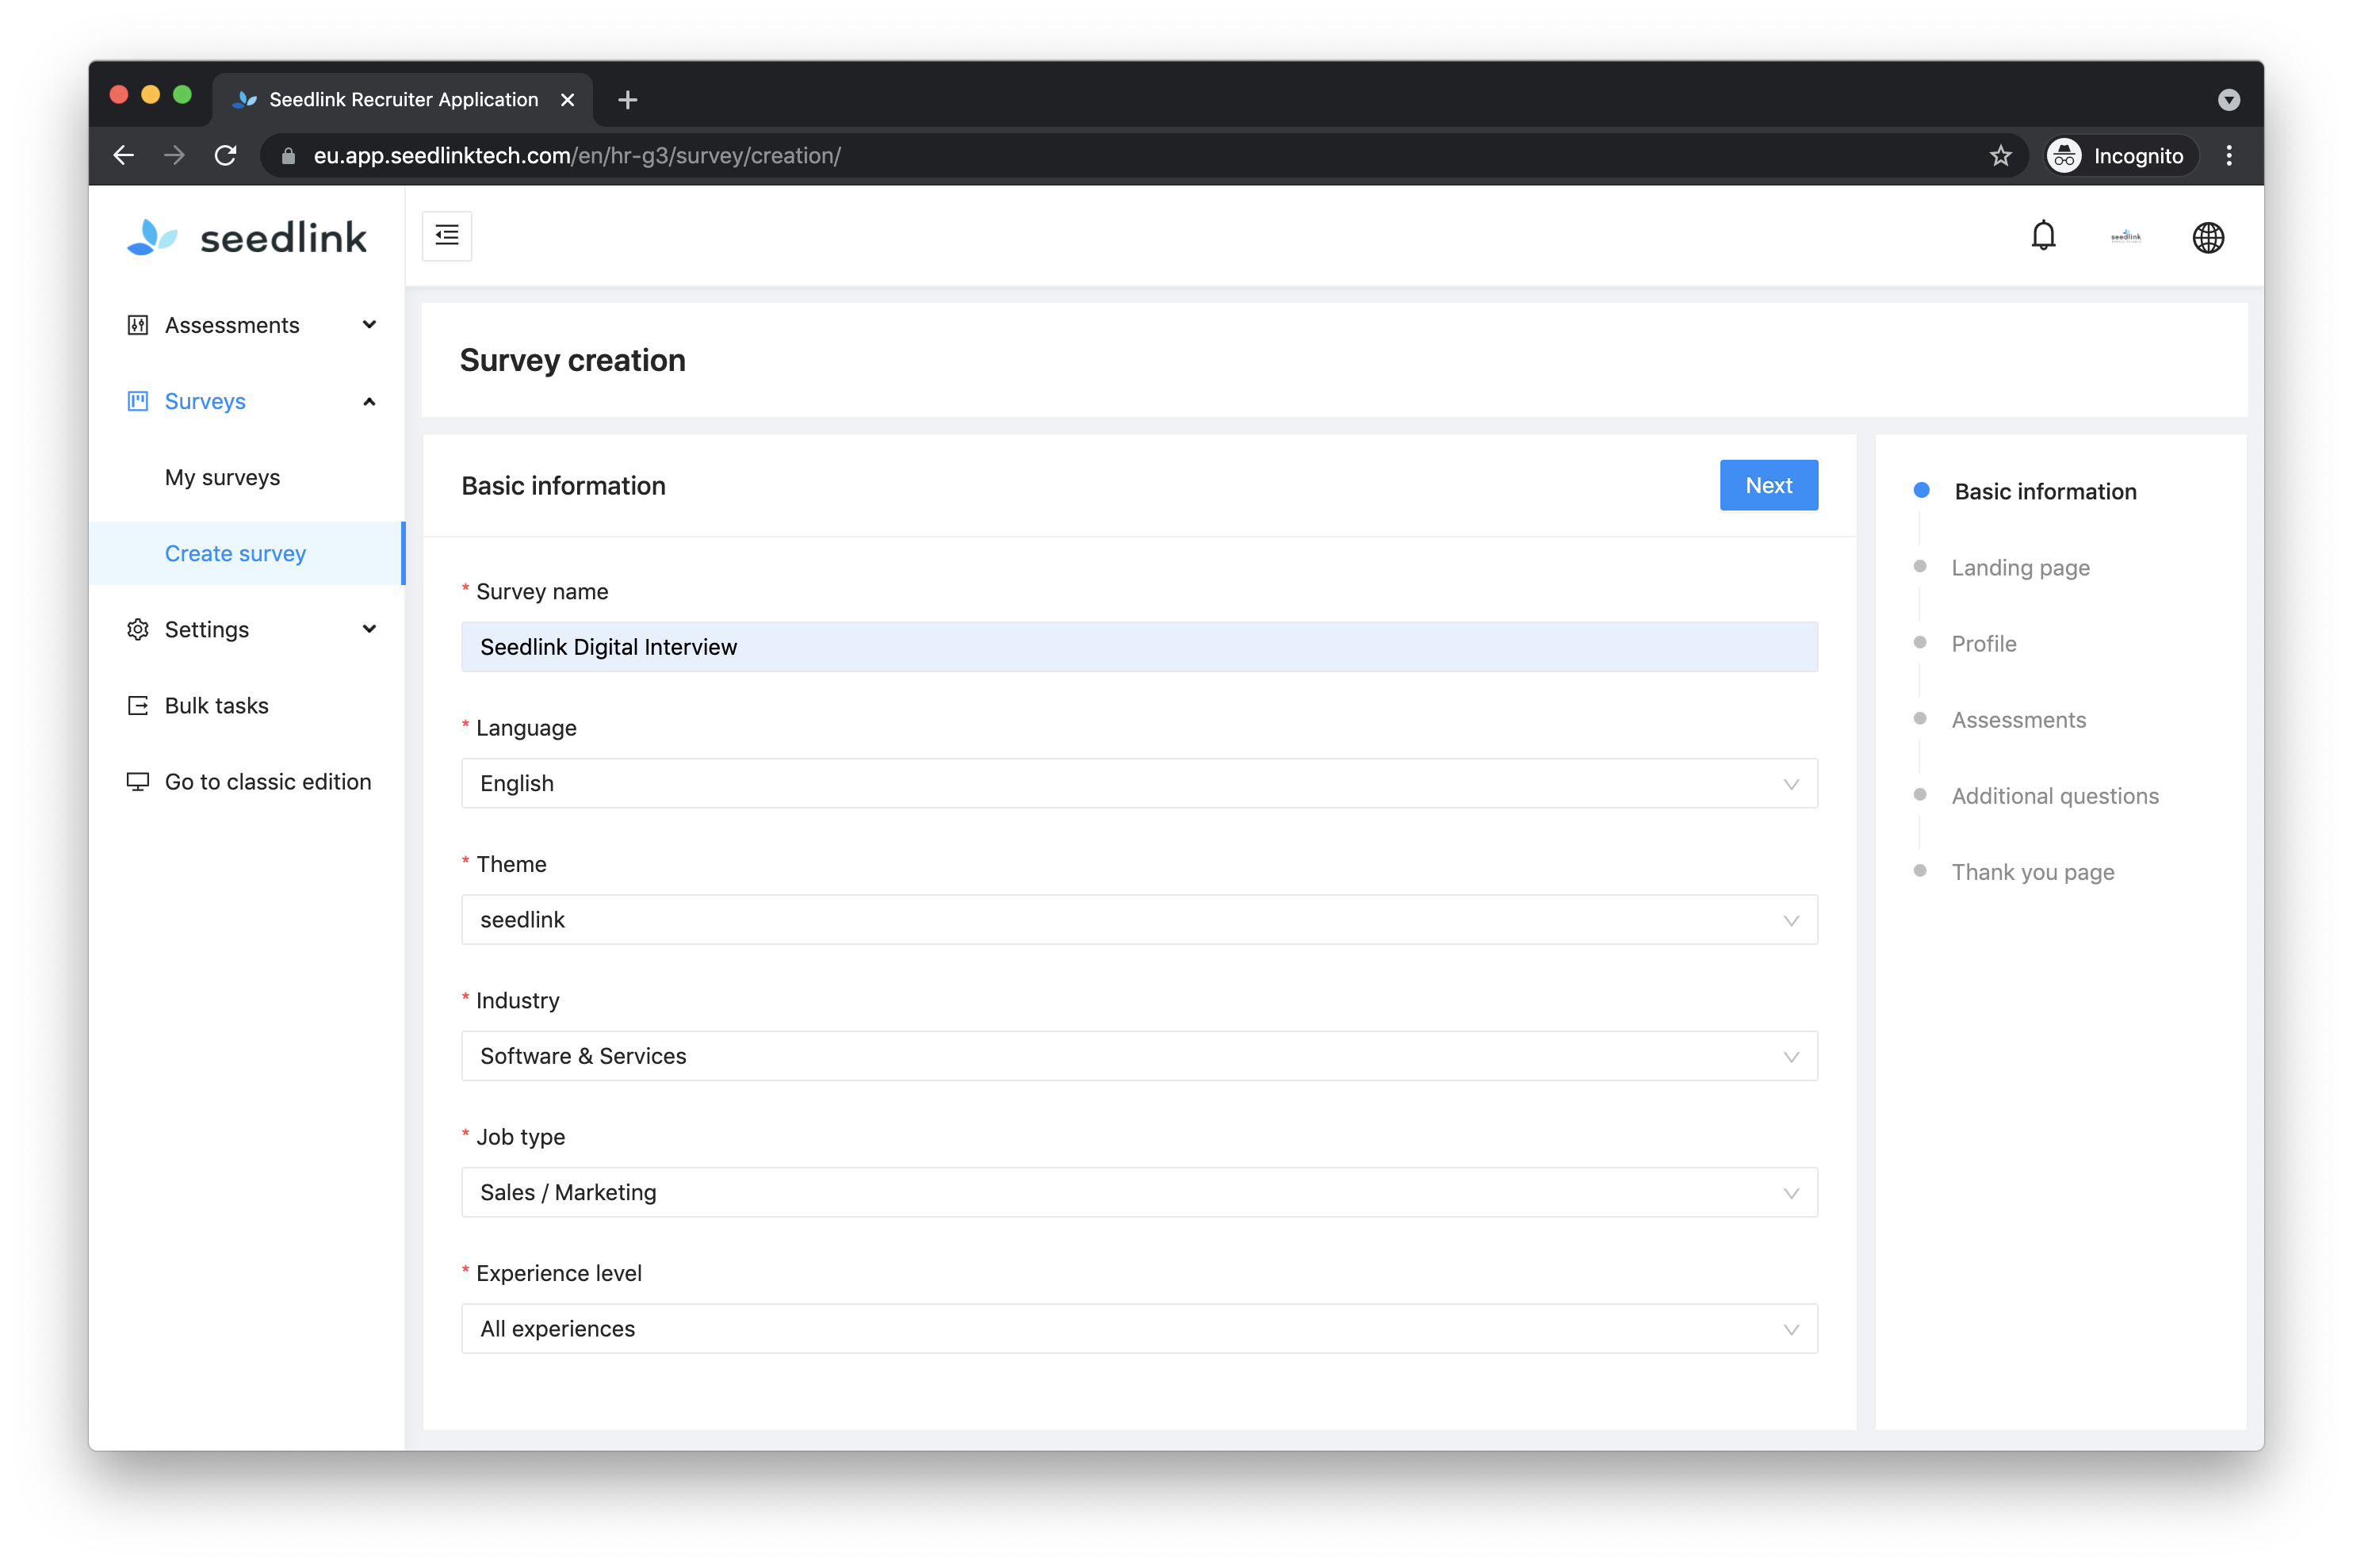
First click on Surveys in the left menu then click on Create survey in the dropdown menu.
Input Survey name, Language, Theme, Industry, Job type and Experience level for the survey.
Click Next to go to the next page.
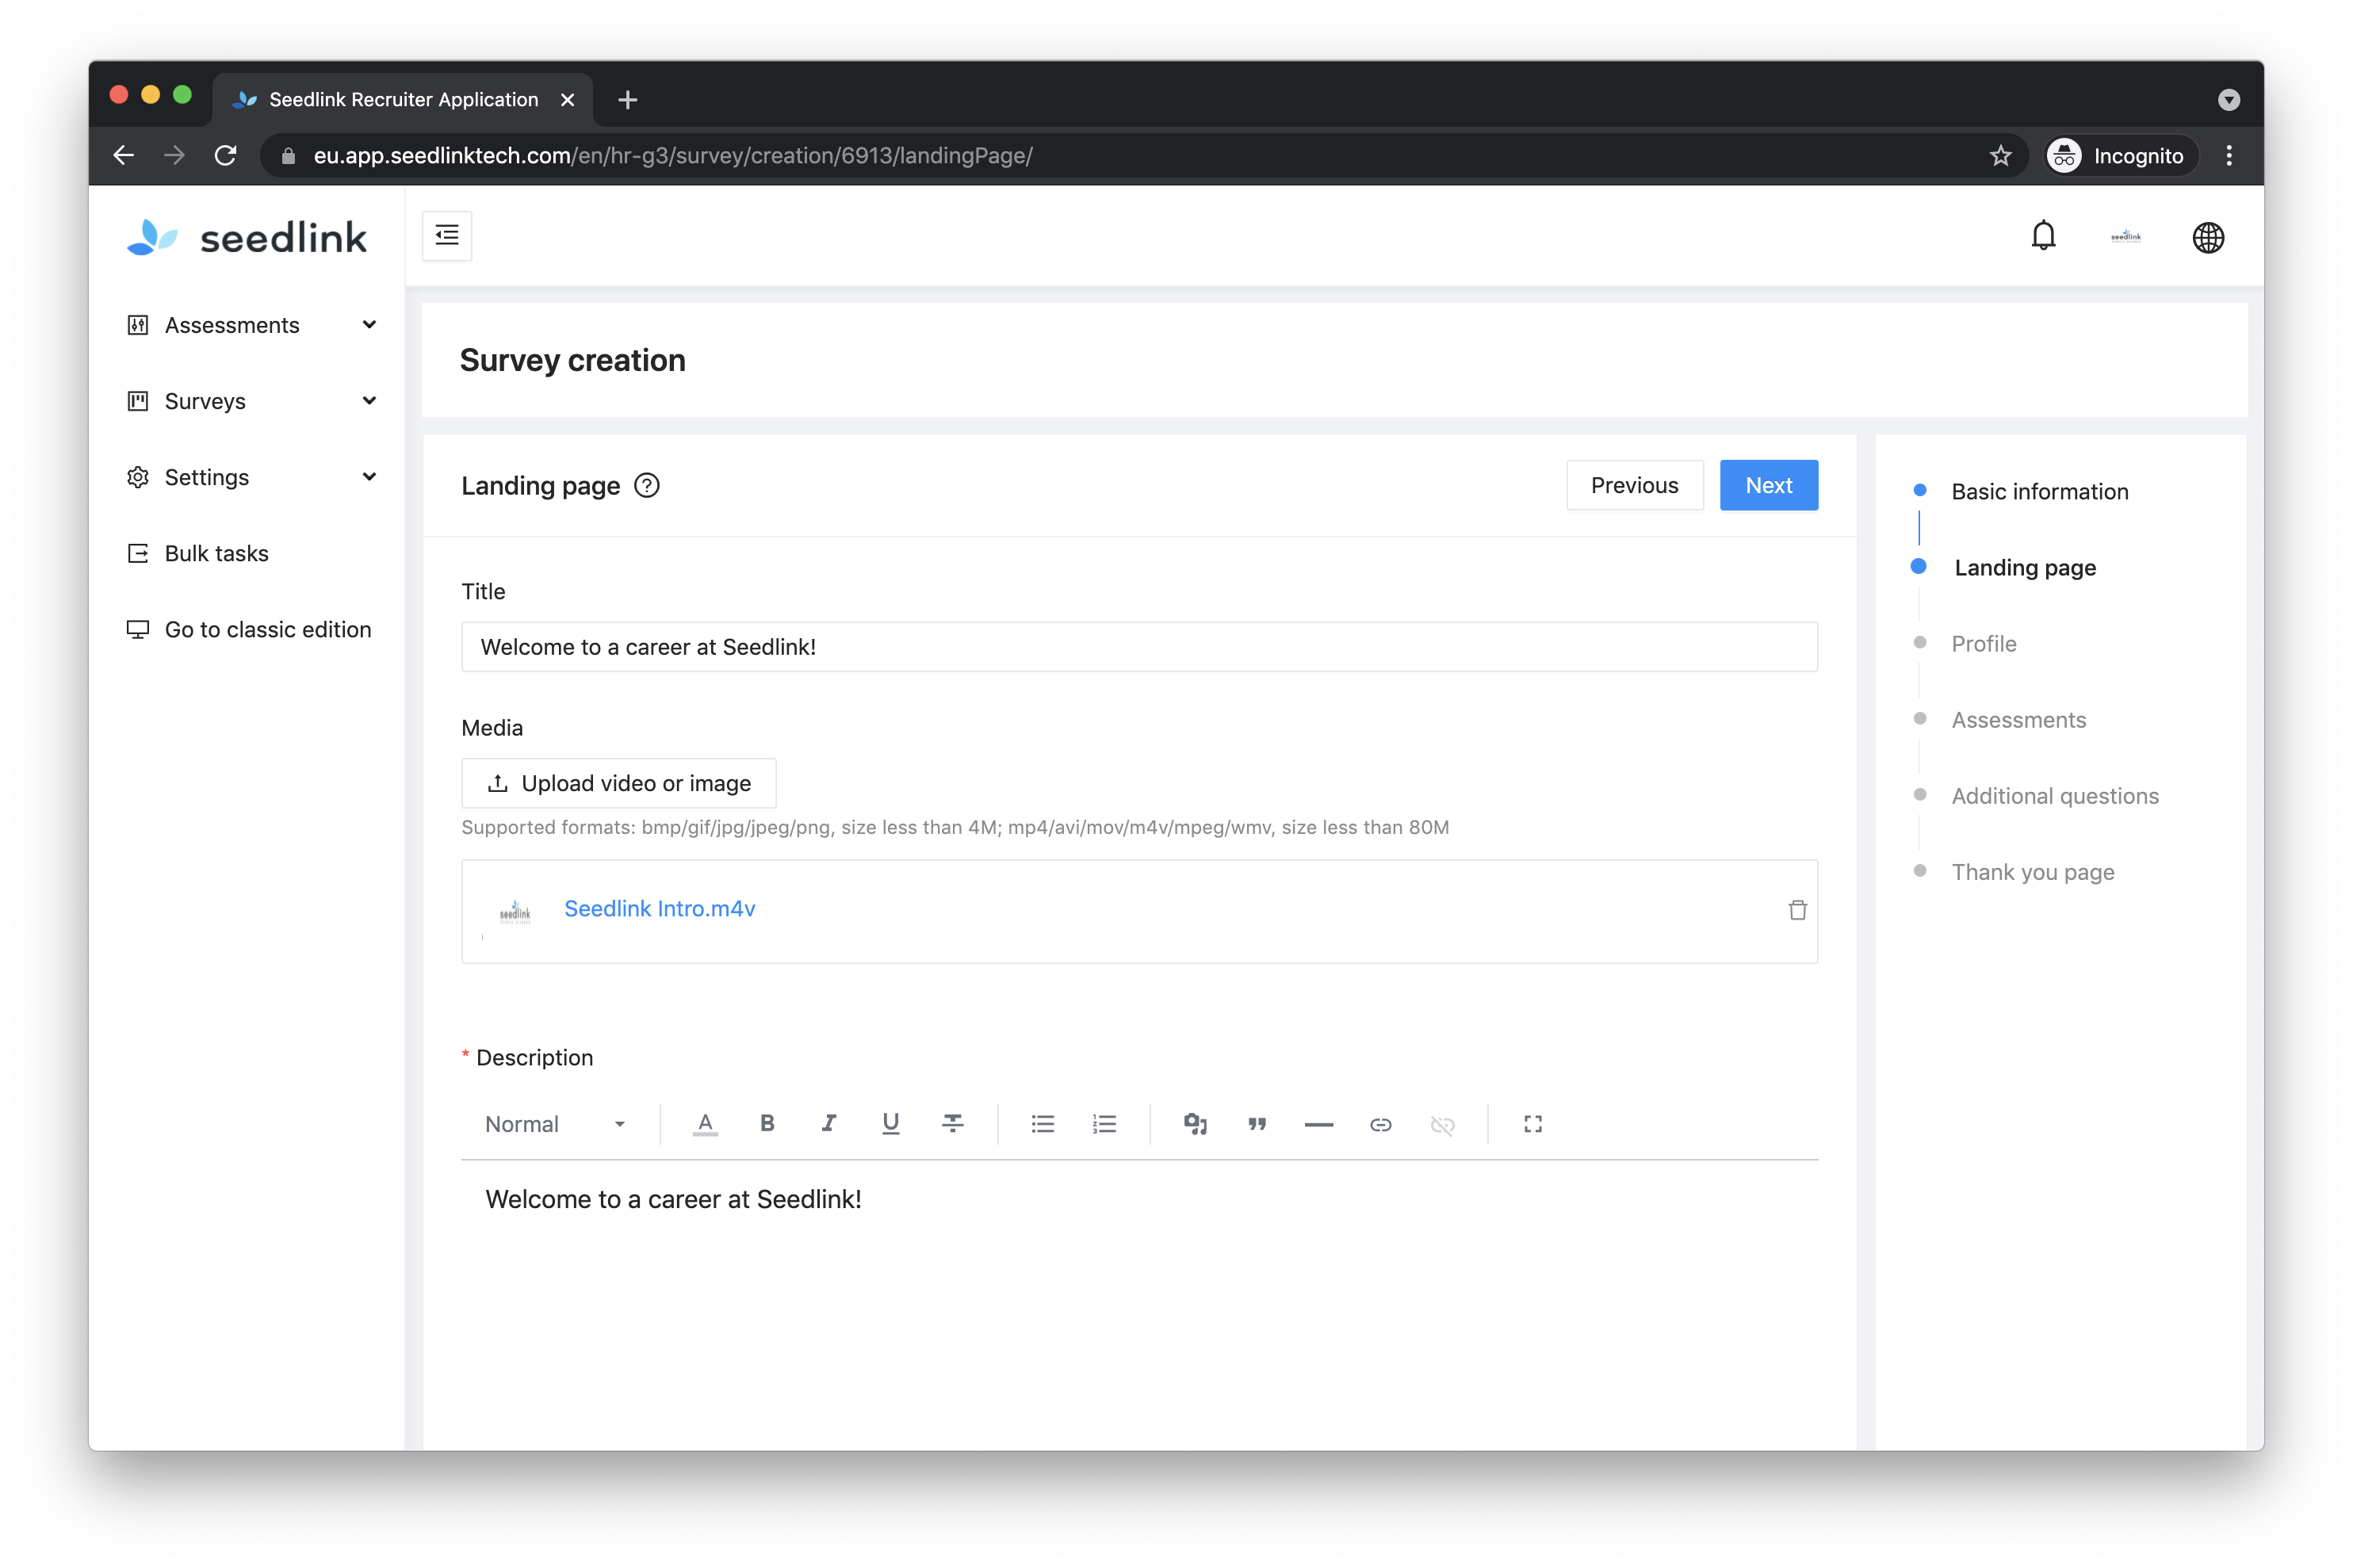
Provide a Title and Description content for the Landing page. The Landing Page is the first page a survey taker will see. Make sure you create a nice and warm welcoming text for the survey takers that apply for your organization.
🔆 TIP
TitleandDescriptionare the fields shown in the Landing page. The title being the header of the page and the description being the text. AddingMedia(images or video) can make the survey more attractive for survey takers.
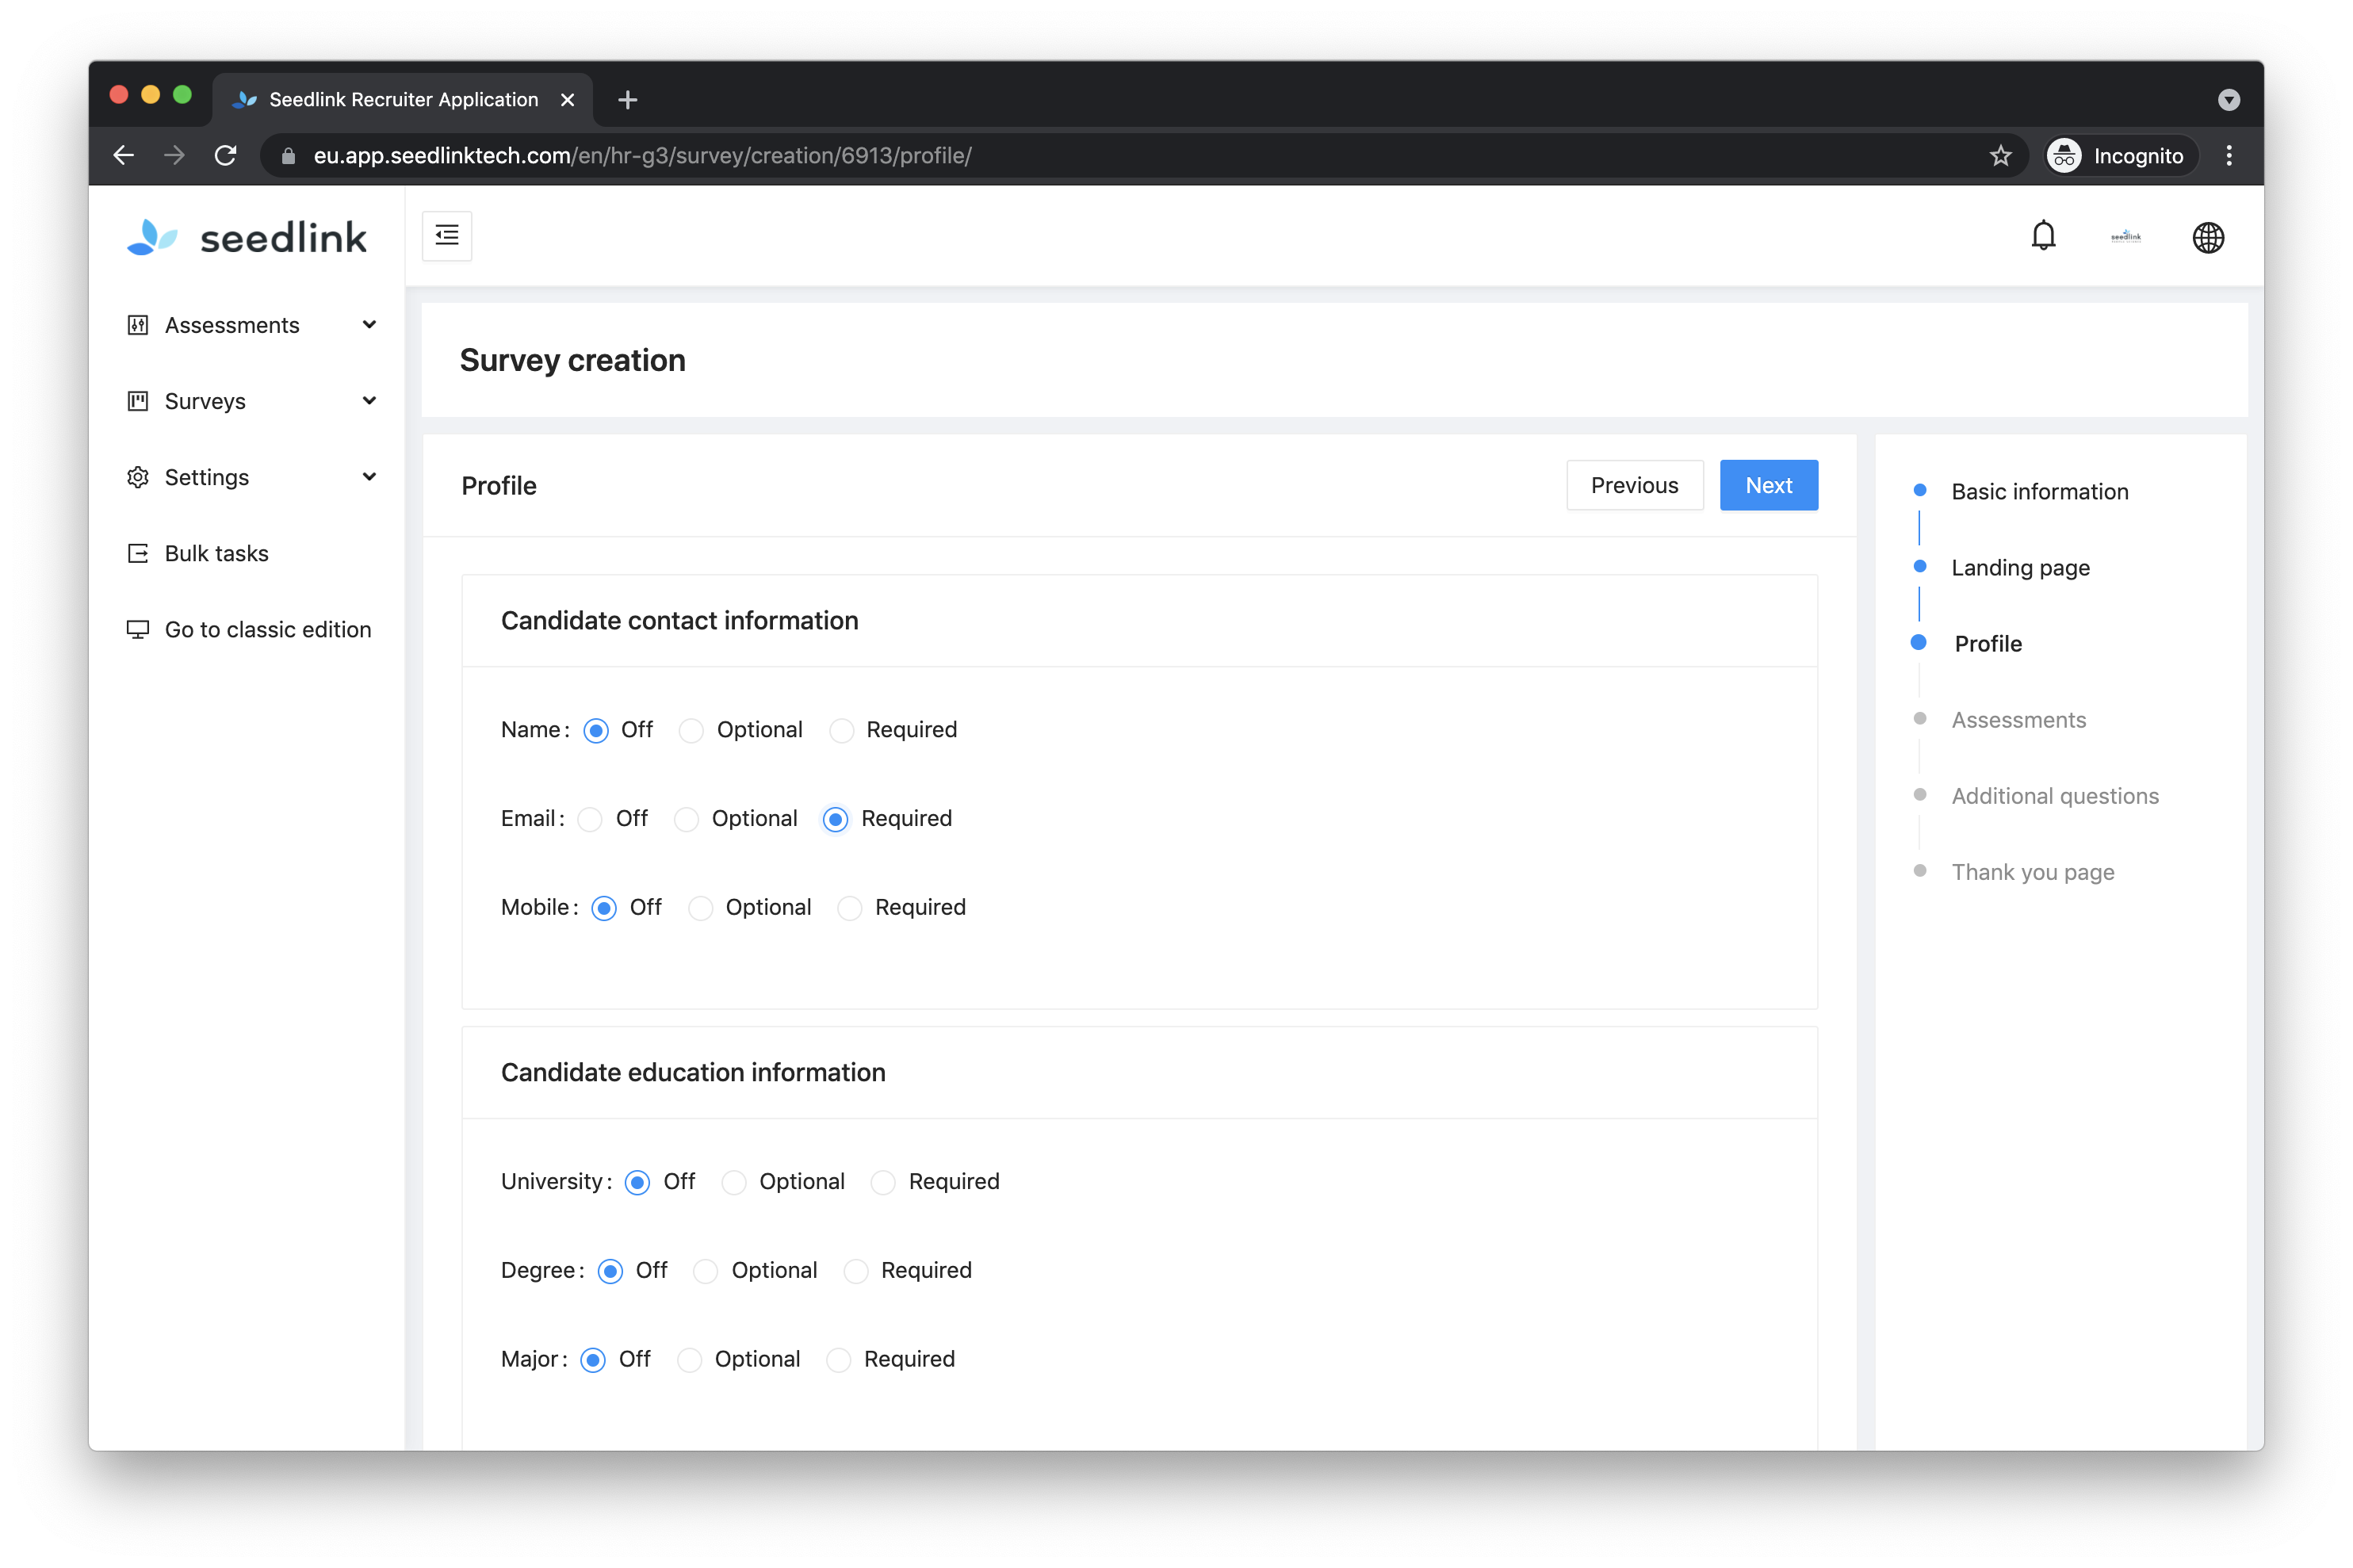
Specify what contact information, education information, or resume information candidates should provide.
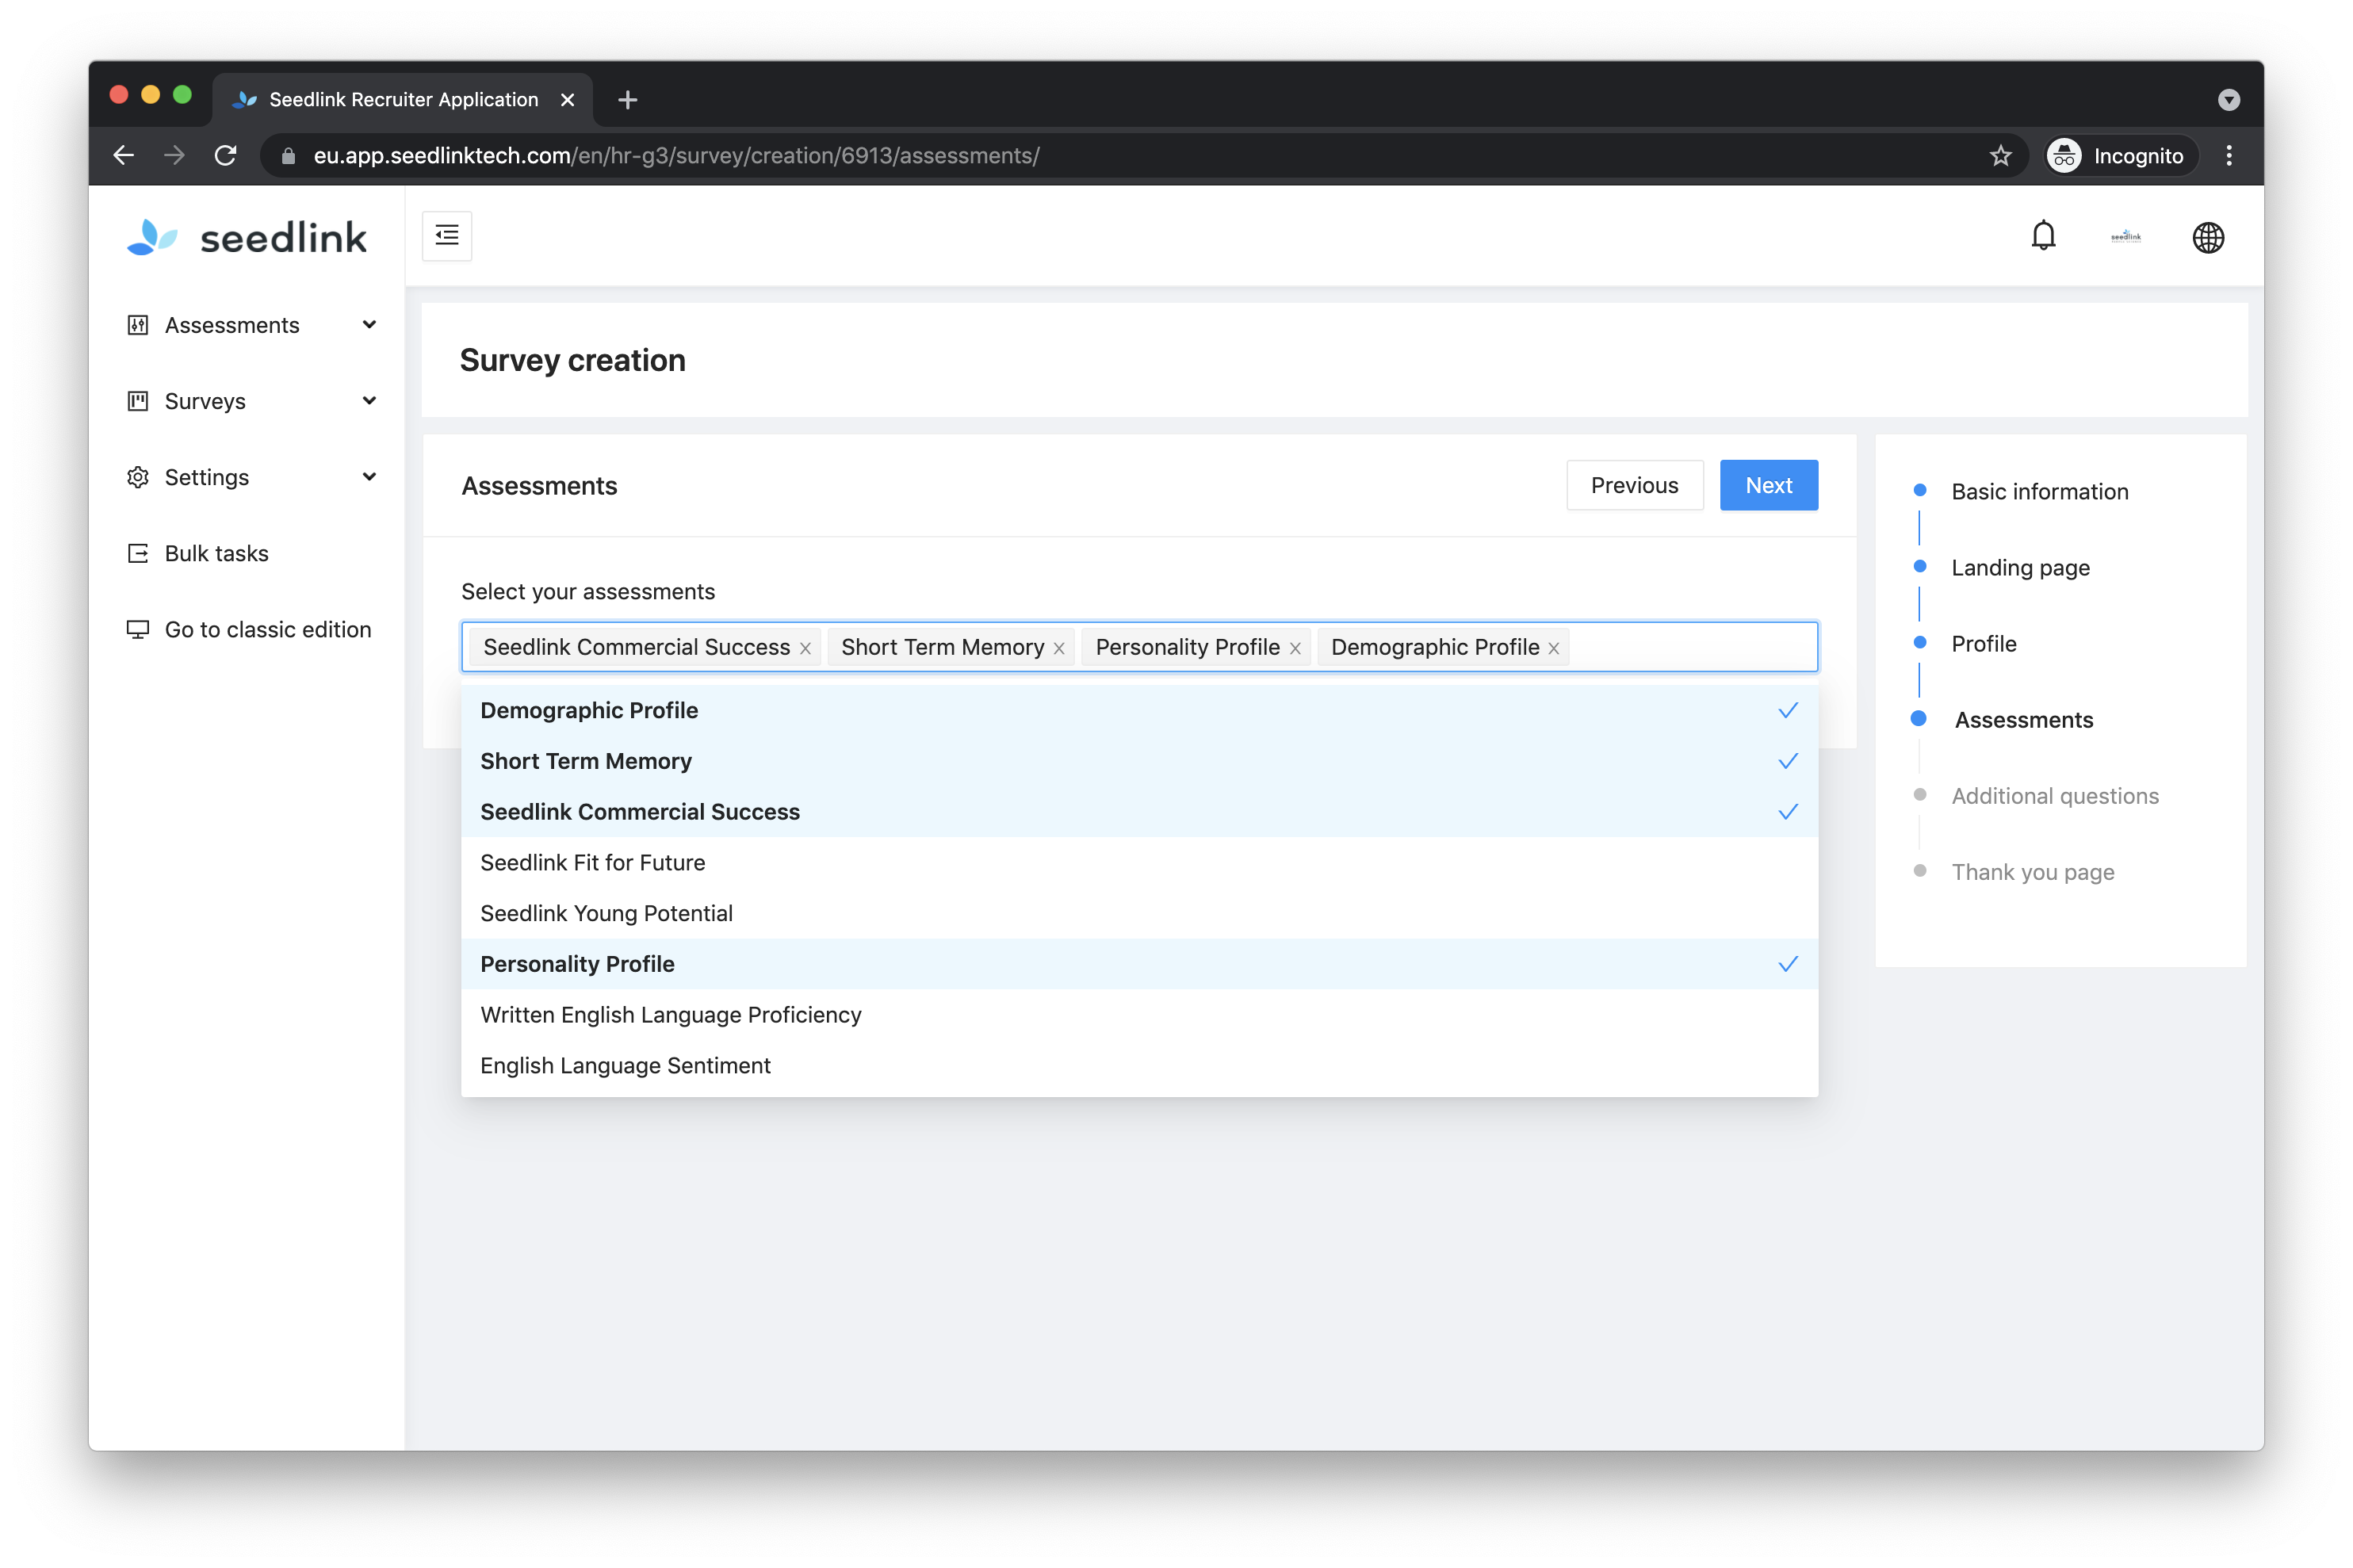
Specify what assessments you would like to assess in the survey. More than one can be selected. You can include the Assessment(s) you have acquired.
If you have selected more than 1 you can change the order in a later stage.
❗️ CAUTION
It doesn’t matter how many language assessments you have selected, the survey taker only answers one set of 3 open ended questions and will be automatically assessed on all of the chosen language assessments.
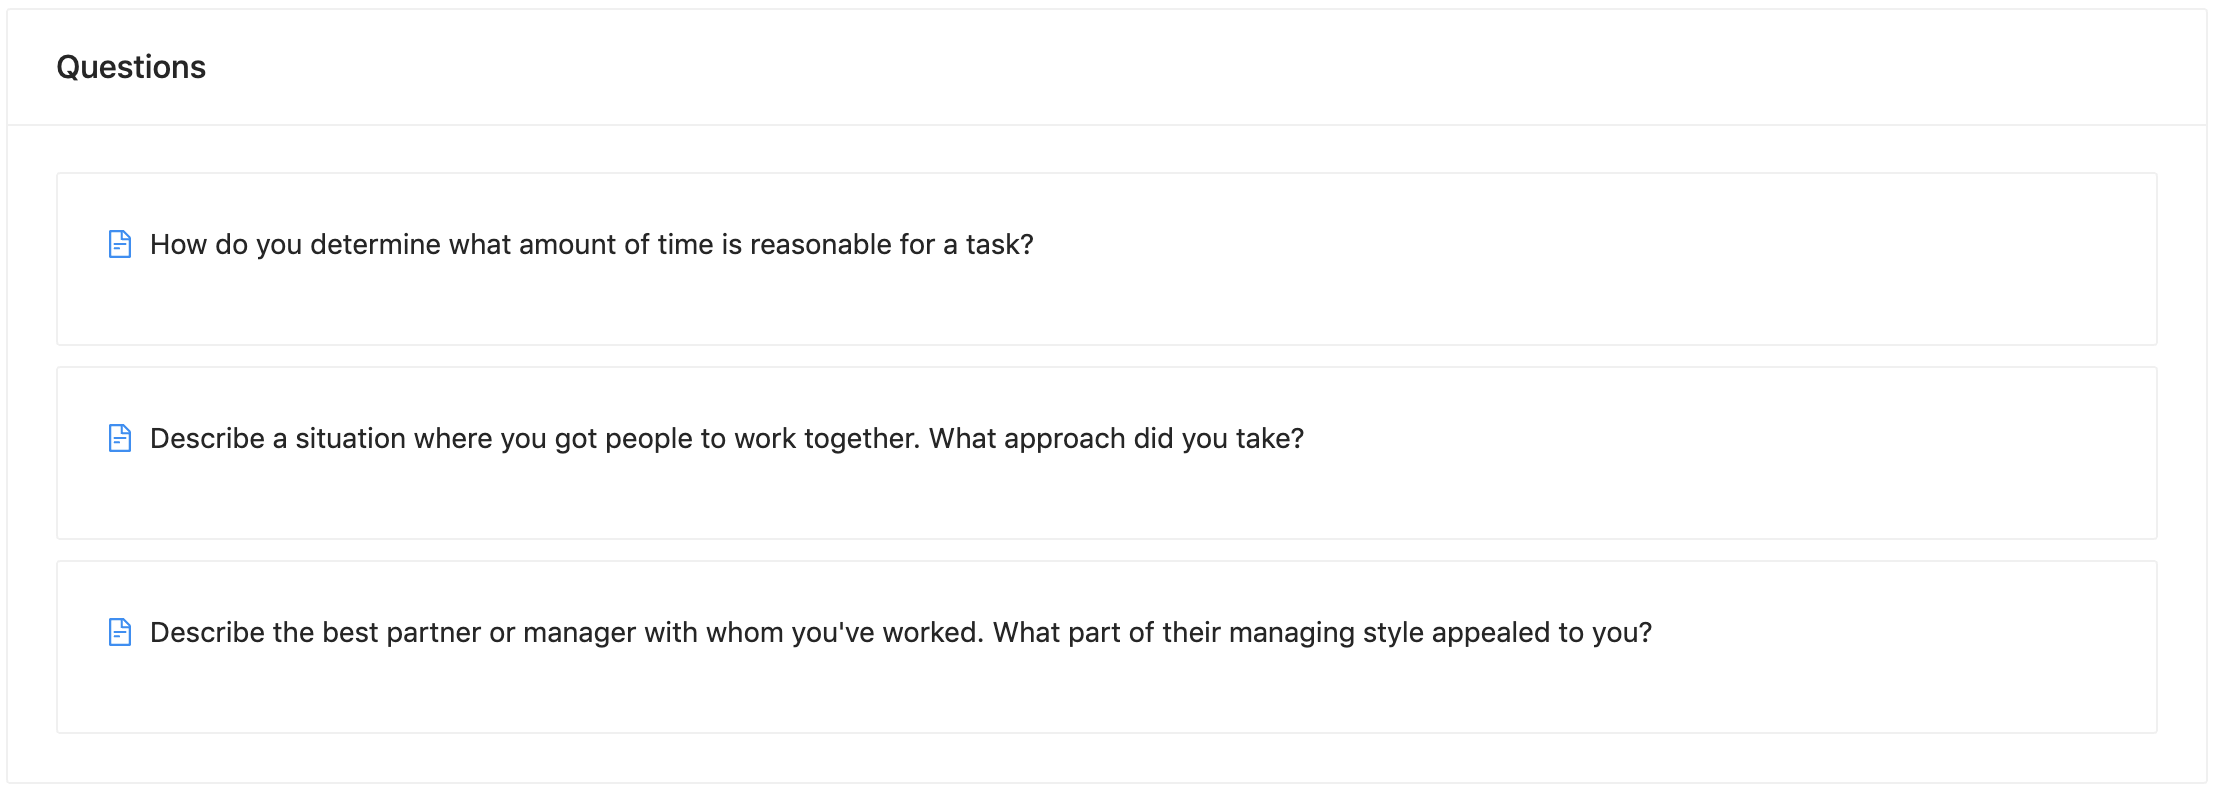
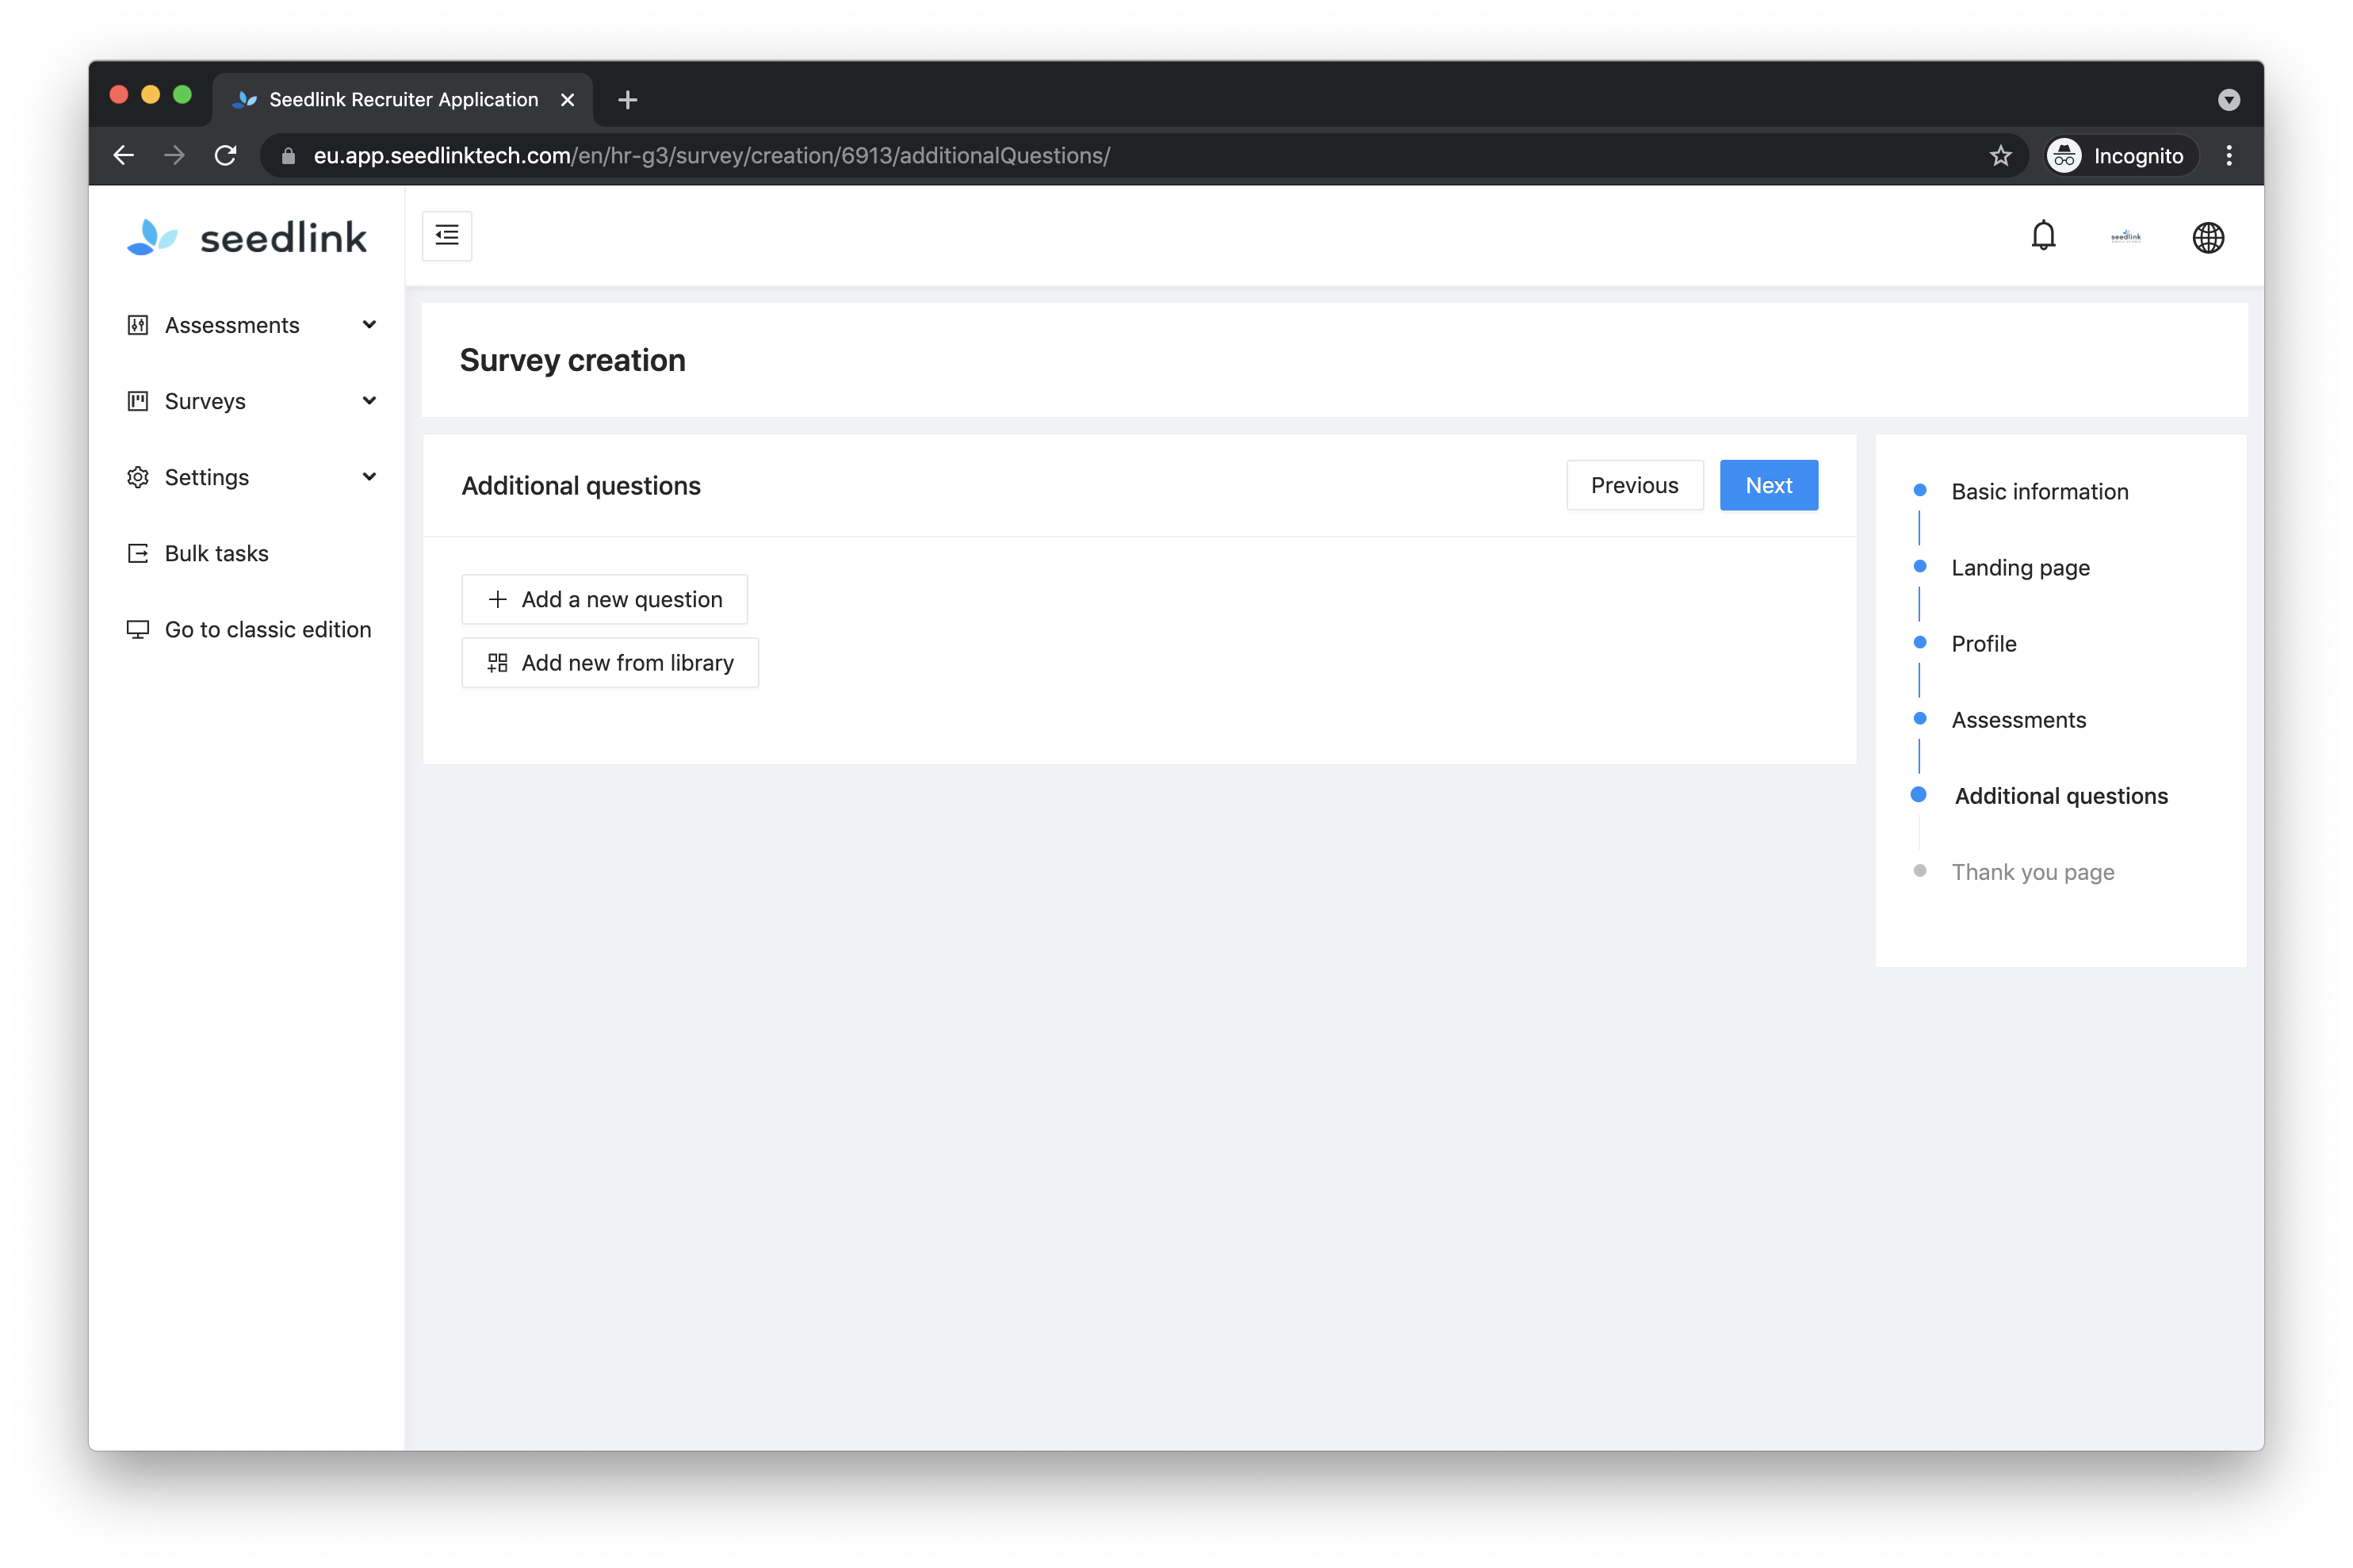
Option: additional questions can be added to the survey.
For example, a video question. The video will not be assessed, but only serves as a reference for a survey taker's communicative abilities.
Provide a Title and Description content for the Thank you page. The Thank you page is shown to survey takers at the end of the survey.
🔆 TIP
TitleandDescriptionare the fields shown in the Thank you page. The title being the header of the page and the description being the text. AddingMedia(images or video) can make the survey more attractive for survey takers.

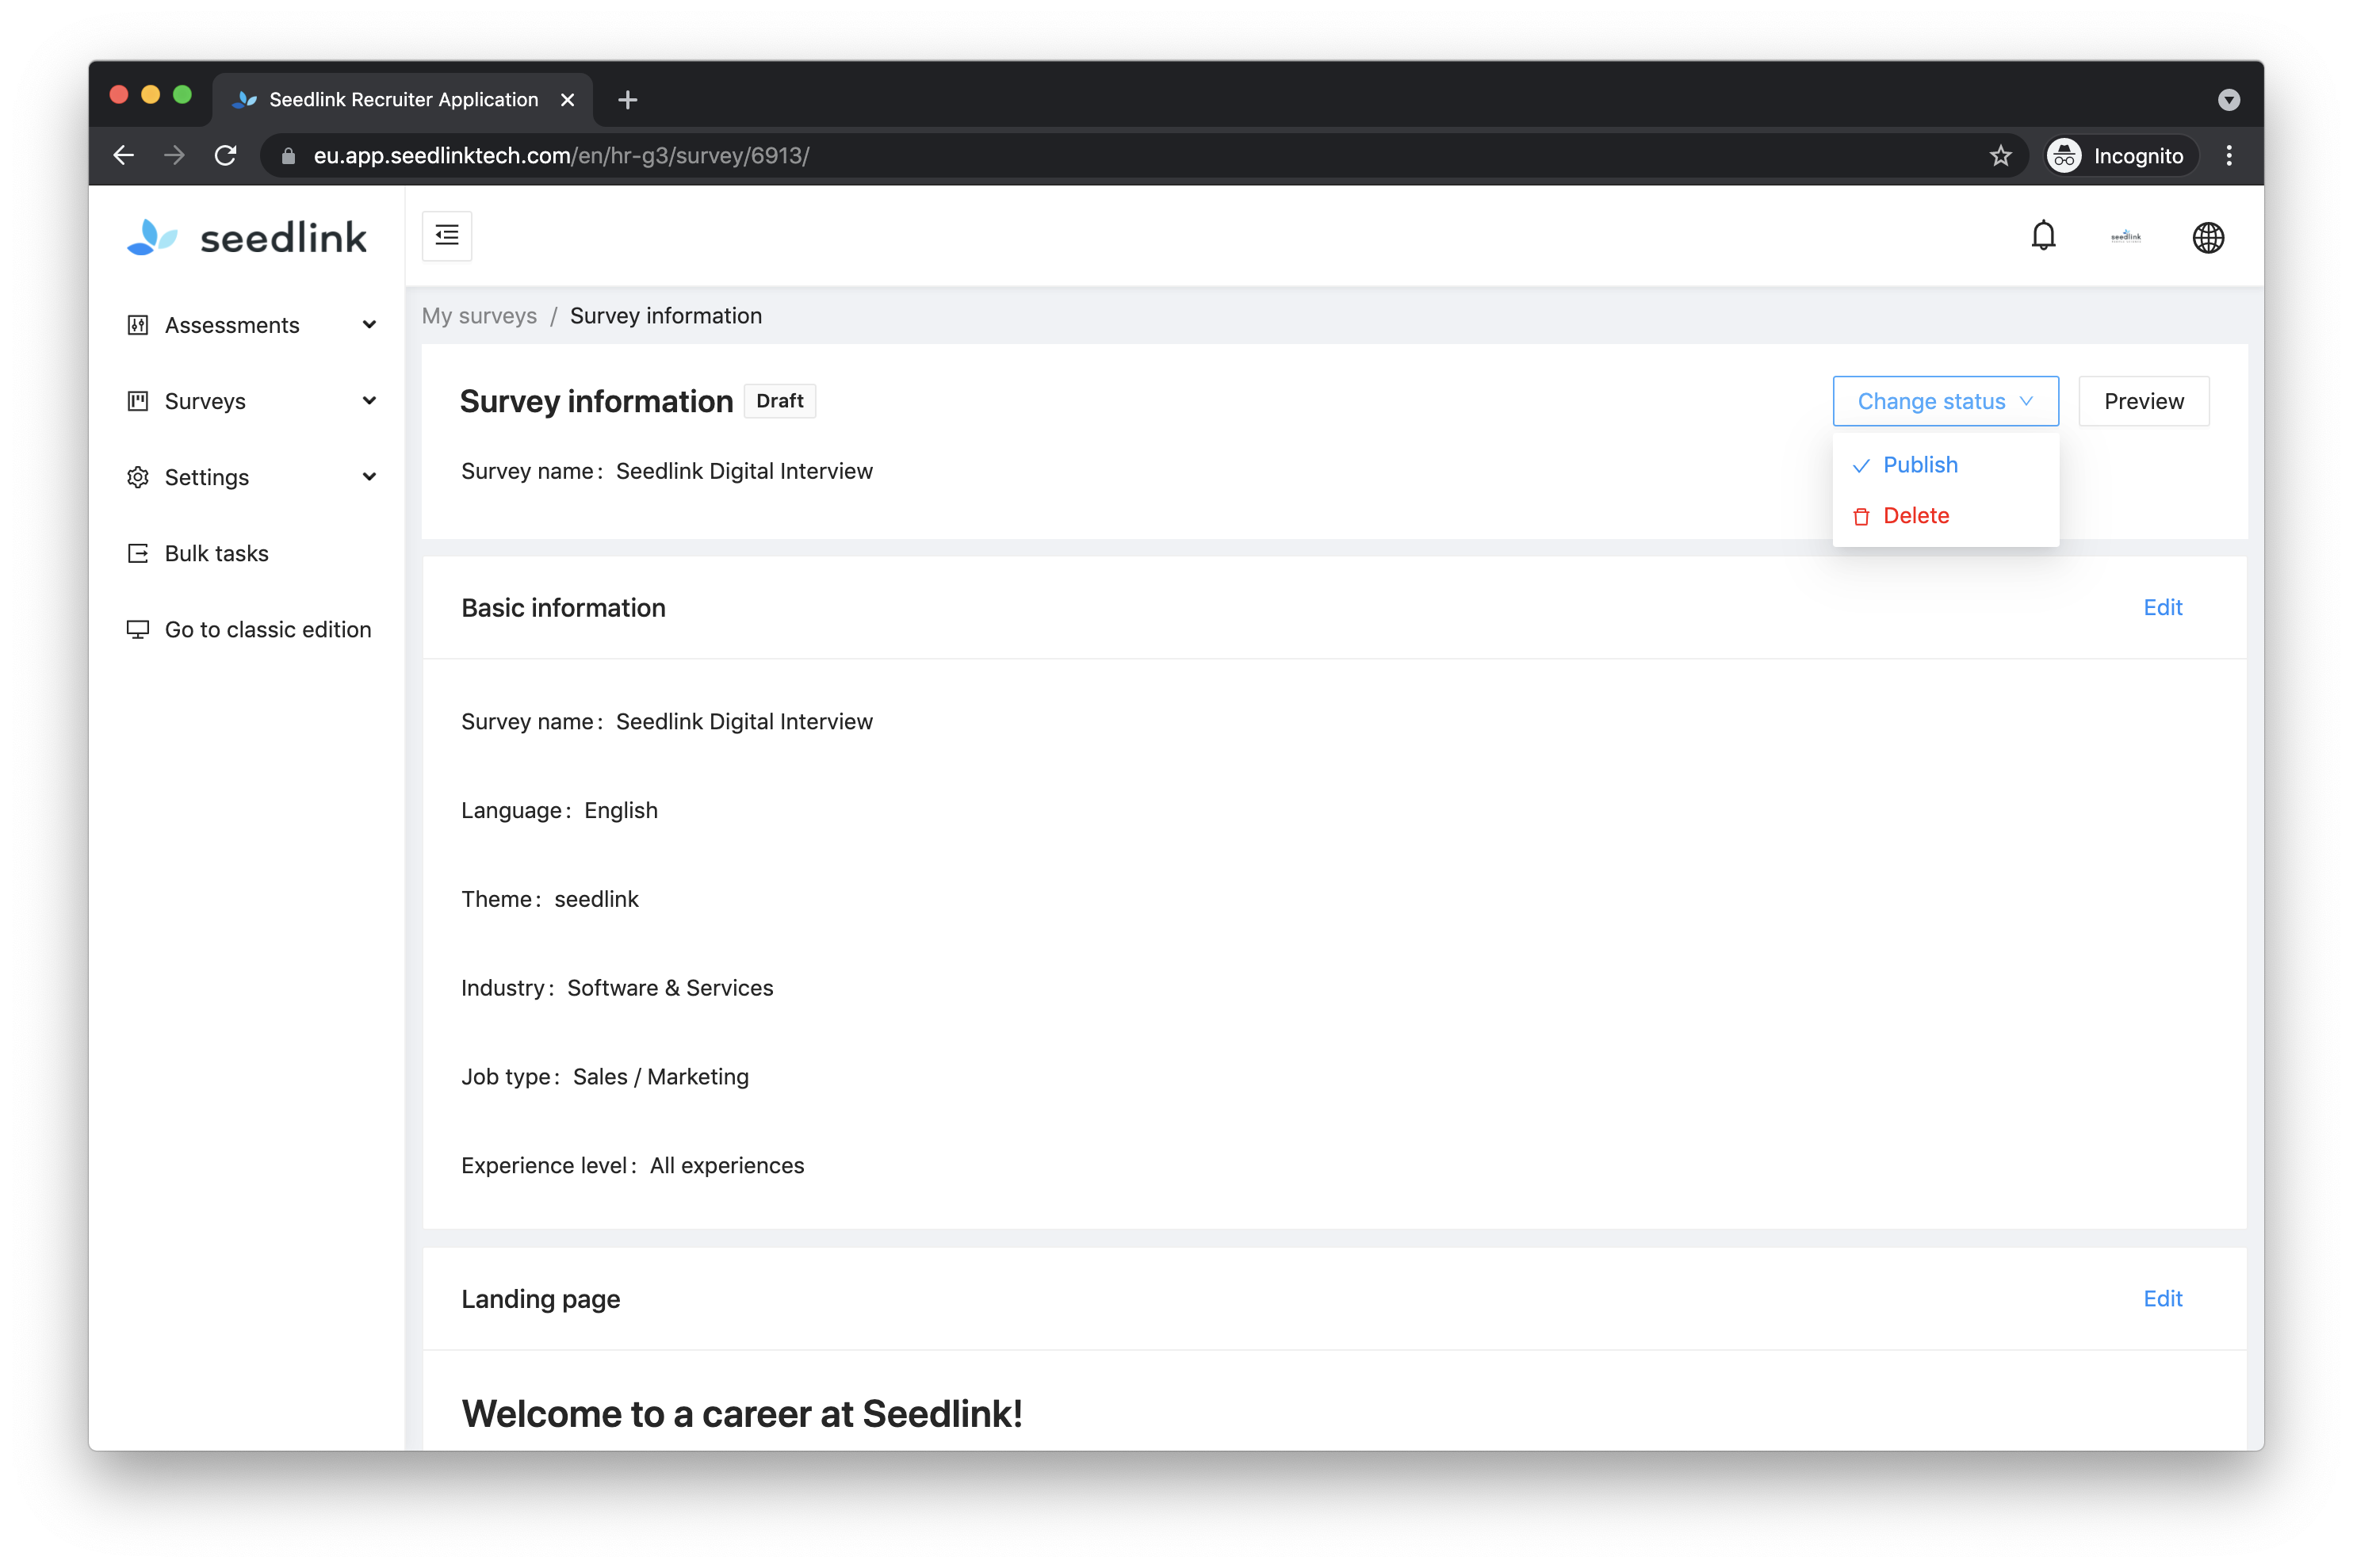
Verify if all the information in each survey section is correct. Click Edit to correct or add information.
If all survey information is correct and the Preview looks good, the Publish button can be found on the drop-down to publish the survey.
Before you publish the Digital Interview we suggest to Preview it first. In Preview mode you are able to go through survey taker experience yourself, i.e. read the introduction, see how it looks, read the open question and any other information used to create the Digital Interview.
❗️ CAUTION
After the Digital Interview is Published you can only change:
- The introduction text
- Thank you page text
- Order of assessments
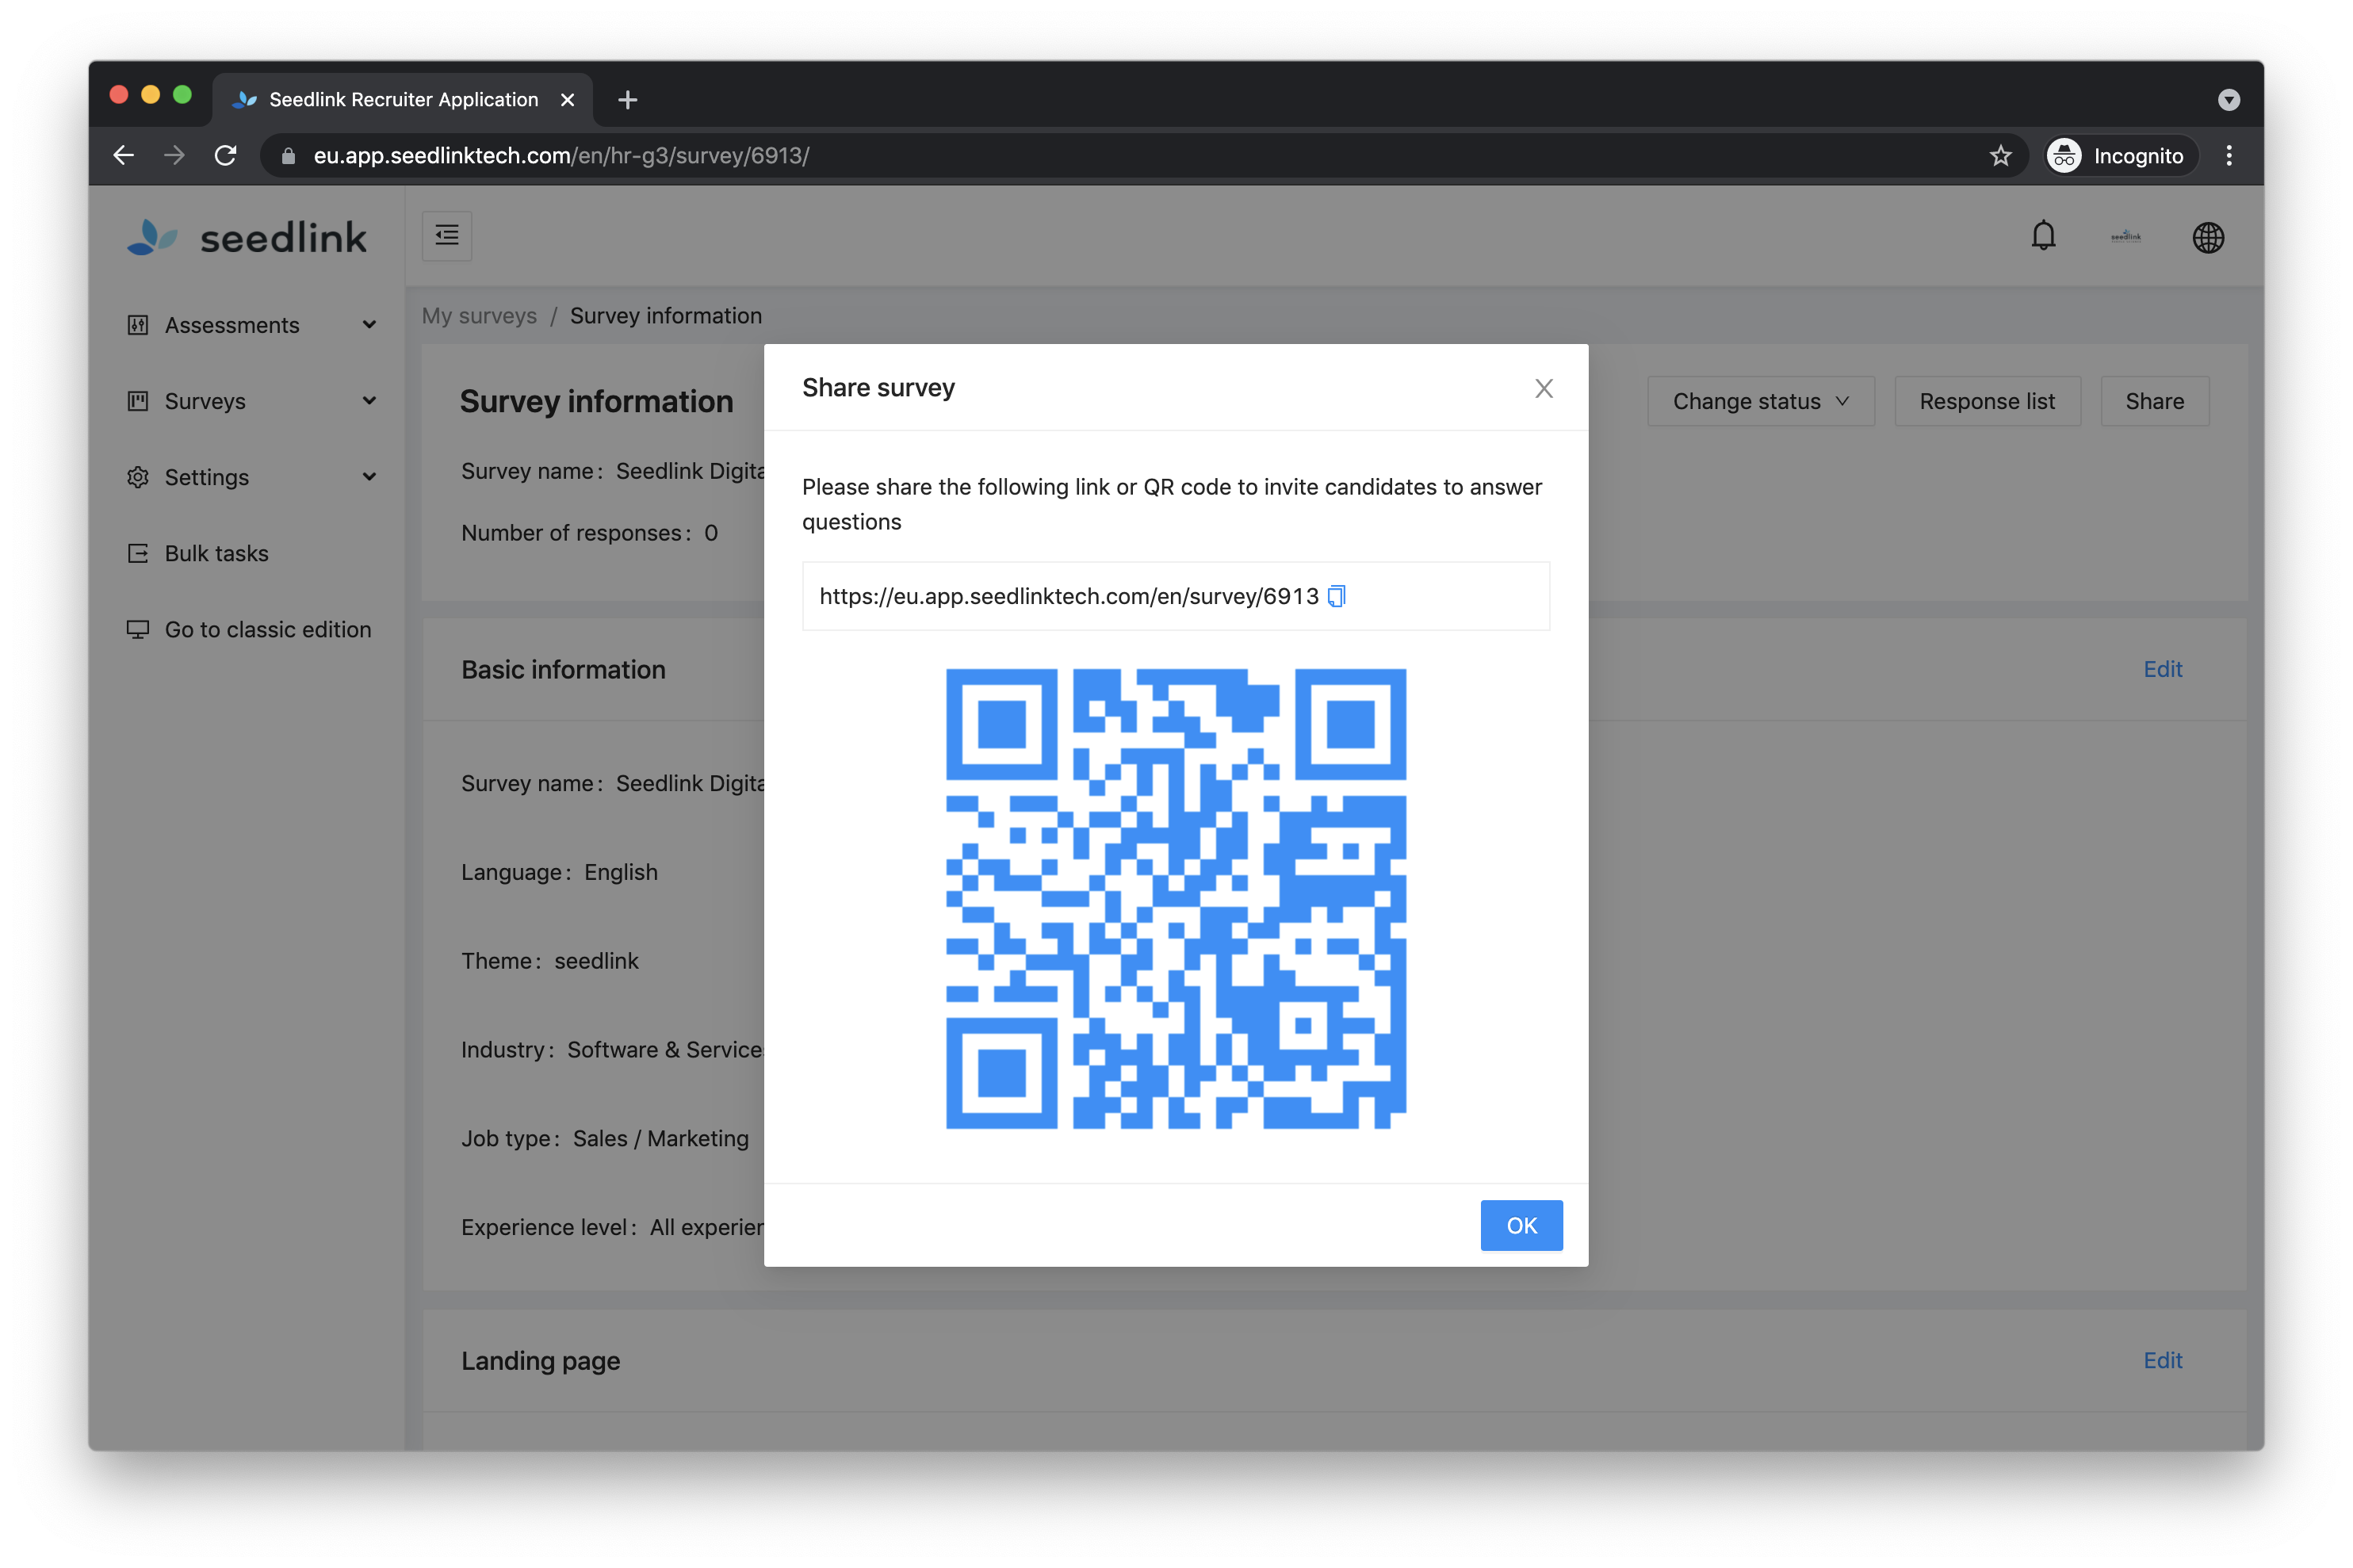
Click the Share button to generate a URL and QR-code to send to survey takers. The link can be used for all survey takers, you won’t need different links for multiple survey takers. The QR-code can be scanned with a mobile phone to view what the survey looks like on a mobile device.